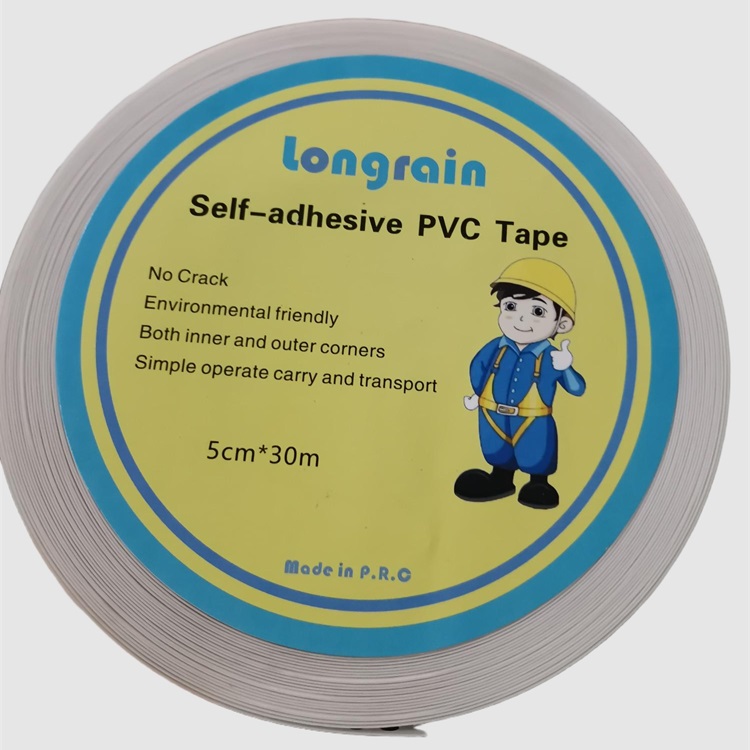
Corner Protection--Metal Tape
Construction Steps for Metal Corner Beads in Wall Protection
I. Pre-Construction Preparation
1. Materials & Tools
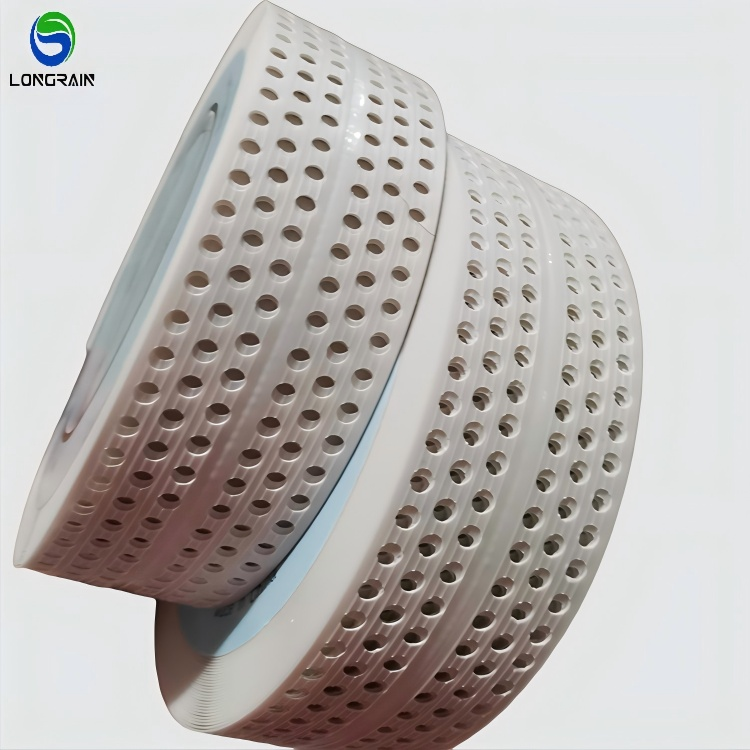
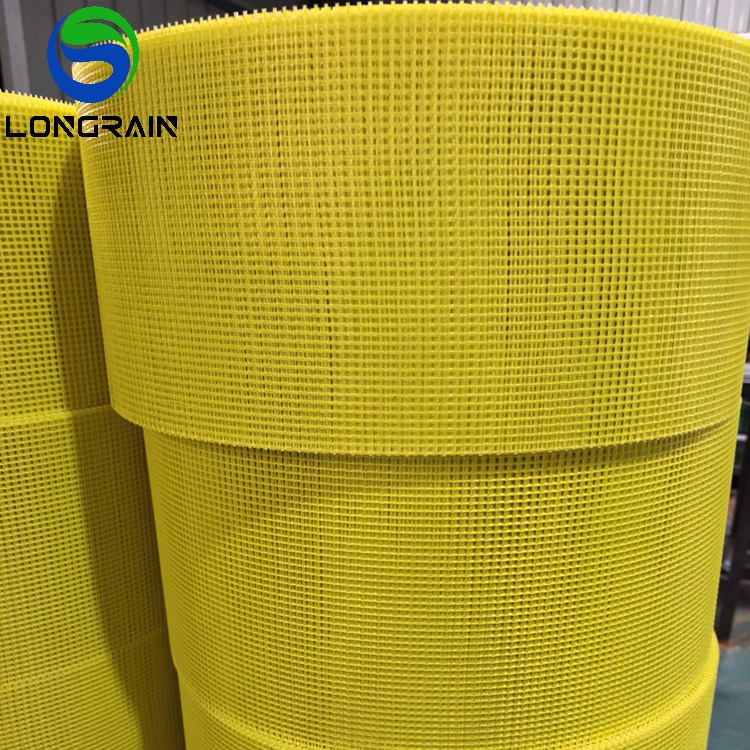
- Materials: Metal corner beads (PVC-coated or aluminum alloy), crack-resistant mortar, alkali-resistant mesh (optional).
- Tools: Level, trowel, scissors, mixer, chalk line.
2. Surface Preparation
- Check wall corners for verticality (using a 2m straightedge). If deviation >3mm, level with cement mortar.
- Remove dust and oil stains, pre-moisten the surface (no standing water).
II. Construction Steps
1. Layout & Marking
Illustration:
- Snap chalk lines to mark corner bead installation positions.
- Note: Priority installation at door/window openings and high-impact areas.
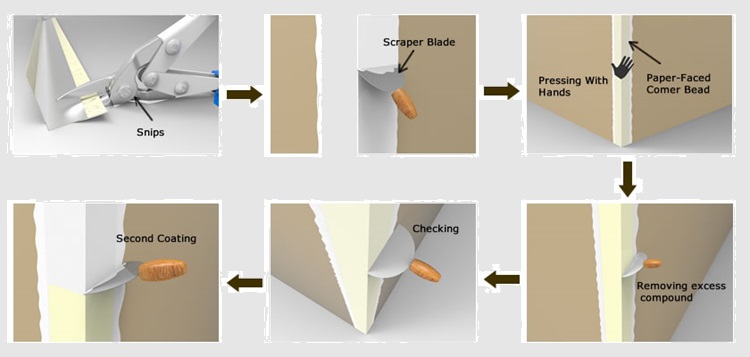
2. Cutting Corner Beads
Illustration:
- Cut corner beads to wall height (typically 2.4m lengths), with 45° miter cuts for seamless joints.
3. Applying Mortar
Illustration:
- Apply crack-resistant mortar (3-5mm thick) to the back of the corner bead and wall corner.
4. Installing Corner Beads
Illustration:
- Press the corner bead into the mortar, adjusting for plumb/level using a level.
- Key Point: Ensure full mortar contact, no hollow spots.
5. Reinforcement & Coverage
Illustration:
- Option 1 (Standard)**: Embed alkali-resistant mesh (≥100mm width) over the bead edges, then apply finish mortar.
- Option 2 (High Strength): Secure corner beads with nails or anchors (spacing ≤300mm), then cover with mortar.
6. Finishing
Illustration:
- Smooth mortar from the corner bead outward, blending with the wall surface.
- Note: Total thickness should match wall plaster (typically 5-7mm).
III. Key Details (Illustrations)
1. External Corner Installation: Show 90° alignment with full mortar coverage.
2. Internal Corner Treatment**: Embed bead and finish with a corner trowel.
3. Joint Connection: Leave 2mm gap between bead ends, fill with mortar to prevent cracking.
IV. Important Notes
1. Environmental Conditions: Minimum 5°C, no work during rain.
2. Quality Control:
- Avoid impacts on installed beads for 24 hours.
- Prevent rapid drying (water spray curing for 1-2 days).
3. Safety, Use harnesses for elevated work; wear gloves when cutting beads.
V. Troubleshooting
- Bead Warping: Caused by insufficient mortar or poor compaction—reinstall.
- Surface Cracks: Check mortar mix ratio (cement:sand = 1:2.5) or curing practices.
Attached: Construction Flow Diagram
For detailed illustrations (e.g., bead fastening methods, mortar application techniques), specify requirements for further refinement.
I. Pre-Construction Preparation
1. Materials & Tools
- Materials: Metal corner beads (PVC-coated or aluminum alloy), crack-resistant mortar, alkali-resistant mesh (optional).
- Tools: Level, trowel, scissors, mixer, chalk line.
2. Surface Preparation
- Check wall corners for verticality (using a 2m straightedge). If deviation >3mm, level with cement mortar.
- Remove dust and oil stains, pre-moisten the surface (no standing water).
II. Construction Steps
1. Layout & Marking
Illustration:
- Snap chalk lines to mark corner bead installation positions.
- Note: Priority installation at door/window openings and high-impact areas.
2. Cutting Corner Beads
Illustration:
- Cut corner beads to wall height (typically 2.4m lengths), with 45° miter cuts for seamless joints.
3. Applying Mortar
Illustration:
- Apply crack-resistant mortar (3-5mm thick) to the back of the corner bead and wall corner.
4. Installing Corner Beads
Illustration:
- Press the corner bead into the mortar, adjusting for plumb/level using a level.
- Key Point: Ensure full mortar contact, no hollow spots.
5. Reinforcement & Coverage
Illustration:
- Option 1 (Standard)**: Embed alkali-resistant mesh (≥100mm width) over the bead edges, then apply finish mortar.
- Option 2 (High Strength): Secure corner beads with nails or anchors (spacing ≤300mm), then cover with mortar.
6. Finishing
Illustration:
- Smooth mortar from the corner bead outward, blending with the wall surface.
- Note: Total thickness should match wall plaster (typically 5-7mm).
III. Key Details (Illustrations)
1. External Corner Installation: Show 90° alignment with full mortar coverage.
2. Internal Corner Treatment**: Embed bead and finish with a corner trowel.
3. Joint Connection: Leave 2mm gap between bead ends, fill with mortar to prevent cracking.
IV. Important Notes
1. Environmental Conditions: Minimum 5°C, no work during rain.
2. Quality Control:
- Avoid impacts on installed beads for 24 hours.
- Prevent rapid drying (water spray curing for 1-2 days).
3. Safety, Use harnesses for elevated work; wear gloves when cutting beads.
V. Troubleshooting
- Bead Warping: Caused by insufficient mortar or poor compaction—reinstall.
- Surface Cracks: Check mortar mix ratio (cement:sand = 1:2.5) or curing practices.
Attached: Construction Flow Diagram
For detailed illustrations (e.g., bead fastening methods, mortar application techniques), specify requirements for further refinement.