Drywall Wall Gypsum Board Joint and Repair
Drywall Joint Tape Installation Steps
I. Preparation
1. Materials & Tools
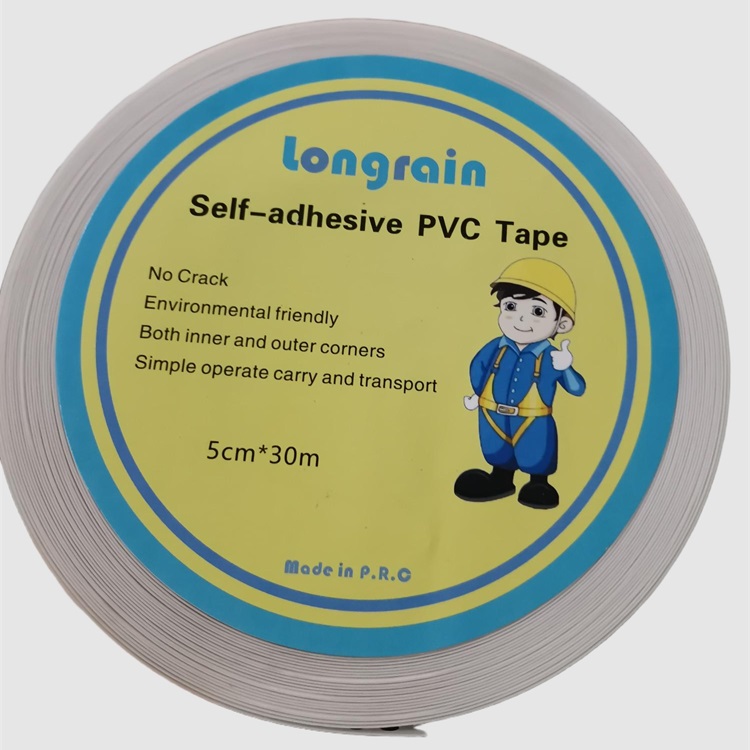
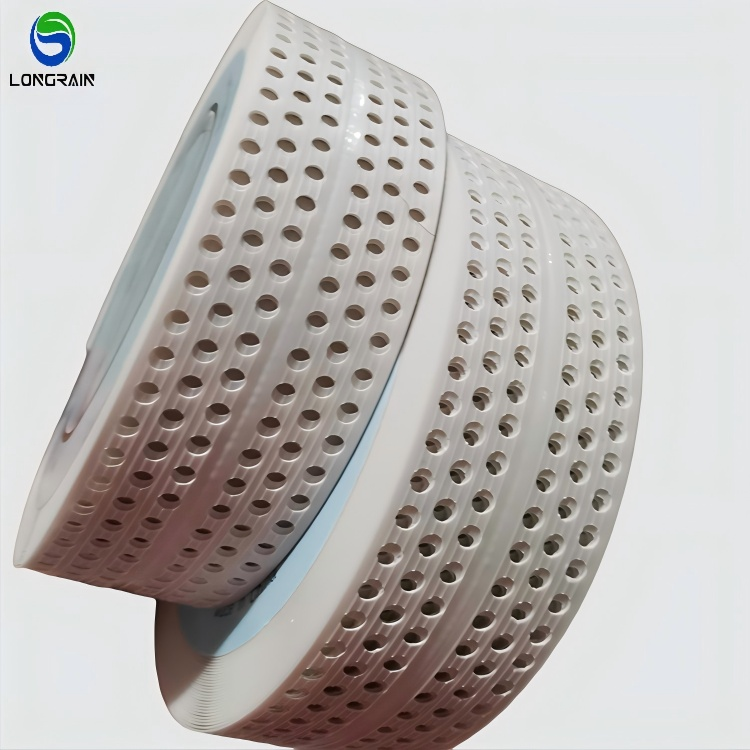
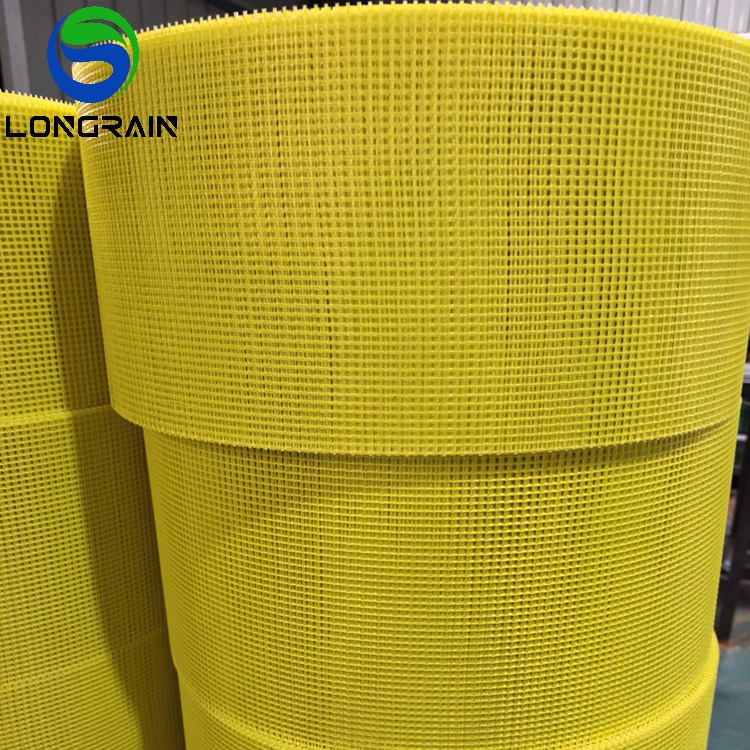
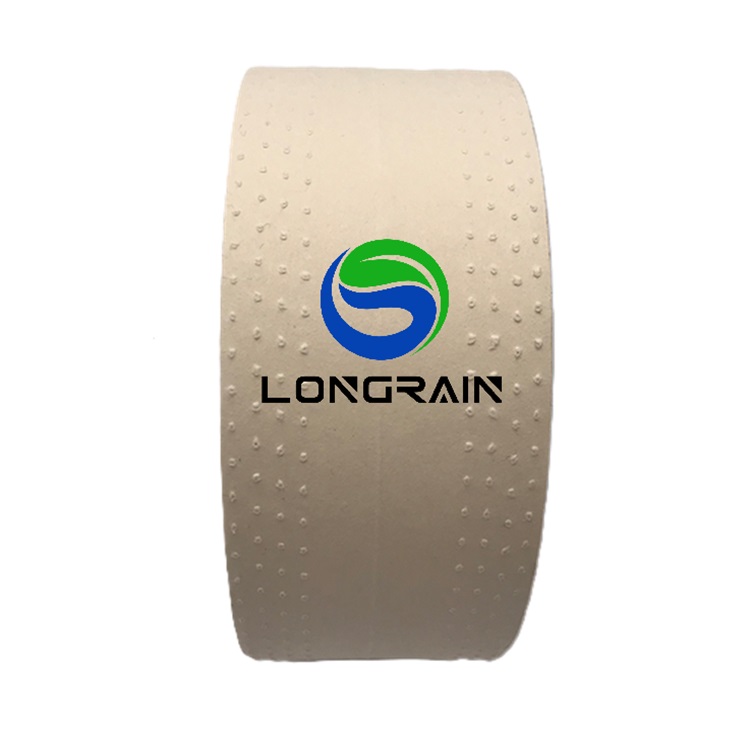
- Materials: Drywall joint tape (paper or fiberglass mesh), joint compound (mud), corner beads (for external corners).
- Tools: Drywall knife (6" and 12"), mud pan, sanding block, utility knife.
2. Surface Check
- Ensure drywall panels are properly secured with screws (no loose boards).
- Check seams for gaps >3mm—fill with joint compound if needed.
II. Step-by-Step Installation
1. Apply First Layer of Joint Compound
- Use a 6" knife to spread a thin layer of mud over the seam (≈2mm thick).
- Key Point: Cover the entire seam, slightly wider than the tape.
2. Embed the Tape
- For Paper Tape:
- Press tape into wet mud, smooth with the knife from center outward to remove bubbles.
- For Mesh Tape:
- Apply directly over the seam, then cover with a thin mud layer.
3. First Coat Smoothing
- Scrape excess mud with the knife at a 15–30° angle, leaving a smooth, even layer.
- Note: Feather edges to blend with the drywall.
4. Second Coat (After Drying)
- Once the first coat dries (24 hrs), apply a wider second coat (≈150mm) using a 12" knife.
- Tip: Sand lightly between coats for better adhesion.
5. Third Coat (Final Layer)
- Apply a thinner, wider coat (≈200mm) to fully conceal the tape.
- Feather edges to create an invisible transition.
6. Sanding & Finishing
- After final coat dries, sand with 120–150 grit paper until smooth.
- Check: Run your hand over the seam—no ridges should be felt.
III. Corner Treatment
1. Internal Corners:
- Fold paper tape at 90° and embed into mud.
2. External Corners:
- Install metal corner beads before taping for durability.
IV. Pro Tips
- Drying Time: Allow 24 hrs between coats in humid conditions.
- Avoid Bubbles: Ensure full tape adhesion in the first coat.
- Ventilation: Accelerate drying with airflow (no direct heat).
V. Common Mistakes
- Bubbling Tape: Caused by insufficient mud or uneven pressure—reapply.
- Visible Seams: Due to inadequate feathering—add another thin coat.
I. Preparation
1. Materials & Tools
- Materials: Drywall joint tape (paper or fiberglass mesh), joint compound (mud), corner beads (for external corners).
- Tools: Drywall knife (6" and 12"), mud pan, sanding block, utility knife.
2. Surface Check
- Ensure drywall panels are properly secured with screws (no loose boards).
- Check seams for gaps >3mm—fill with joint compound if needed.
II. Step-by-Step Installation
1. Apply First Layer of Joint Compound
- Use a 6" knife to spread a thin layer of mud over the seam (≈2mm thick).
- Key Point: Cover the entire seam, slightly wider than the tape.
2. Embed the Tape
- For Paper Tape:
- Press tape into wet mud, smooth with the knife from center outward to remove bubbles.
- For Mesh Tape:
- Apply directly over the seam, then cover with a thin mud layer.
3. First Coat Smoothing
- Scrape excess mud with the knife at a 15–30° angle, leaving a smooth, even layer.
- Note: Feather edges to blend with the drywall.
4. Second Coat (After Drying)
- Once the first coat dries (24 hrs), apply a wider second coat (≈150mm) using a 12" knife.
- Tip: Sand lightly between coats for better adhesion.
5. Third Coat (Final Layer)
- Apply a thinner, wider coat (≈200mm) to fully conceal the tape.
- Feather edges to create an invisible transition.
6. Sanding & Finishing
- After final coat dries, sand with 120–150 grit paper until smooth.
- Check: Run your hand over the seam—no ridges should be felt.
III. Corner Treatment
1. Internal Corners:
- Fold paper tape at 90° and embed into mud.
2. External Corners:
- Install metal corner beads before taping for durability.
IV. Pro Tips
- Drying Time: Allow 24 hrs between coats in humid conditions.
- Avoid Bubbles: Ensure full tape adhesion in the first coat.
- Ventilation: Accelerate drying with airflow (no direct heat).
V. Common Mistakes
- Bubbling Tape: Caused by insufficient mud or uneven pressure—reapply.
- Visible Seams: Due to inadequate feathering—add another thin coat.